Broken Turtle Shell Guide: Causes, First Aid, and Healing Tips
Finding your beloved turtle with a broken, bleeding shell can be scary. I know how heartbreaking it feels when you discover your pet is hurt. But don’t panic—I’m here to walk you through exactly what you need to do to help your turtle recover. I’ve seen many turtle owners face this situation, and with the…
Finding your beloved turtle with a broken, bleeding shell can be scary. I know how heartbreaking it feels when you discover your pet is hurt. But don’t panic—I’m here to walk you through exactly what you need to do to help your turtle recover.
I’ve seen many turtle owners face this situation, and with the right care and quick action, most turtles can heal from shell injuries. Whether your turtle had an accident, got attacked by another animal, or injured itself trying to escape, I’ll show you the steps to take right now.
Understanding Your Turtle’s Broken Shell
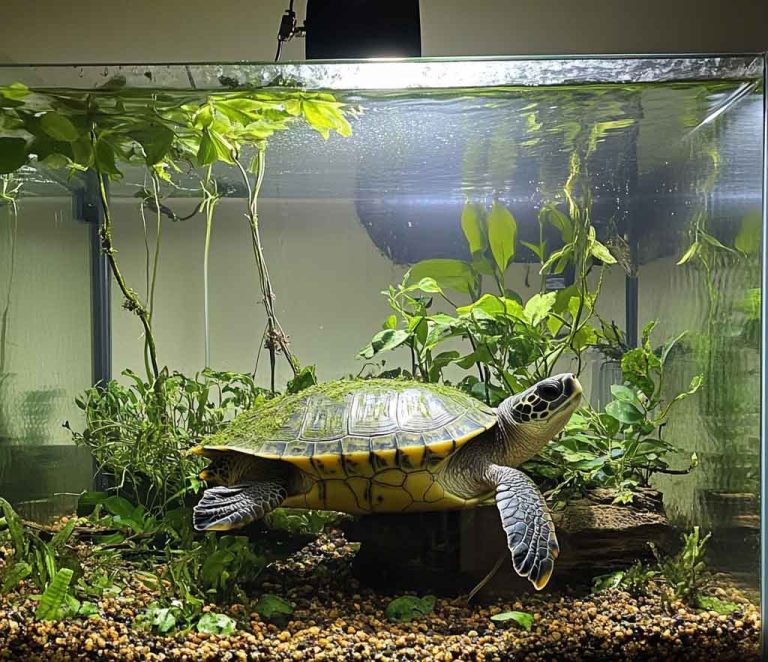
Let me start by explaining what you’re dealing with. Your turtle’s shell isn’t just a covering—it’s actually part of their skeleton. The shell is made up of about 60 bones covered by plates called scutes. When the shell breaks, it’s like breaking a rib, which is why bleeding and pain happen.
I want you to understand that a broken shell can range from a minor crack to severe damage. The good news is that turtle shells can heal, but they need your help to do so safely.
Step 1: Assess the Damage Immediately
The first thing I need you to do is carefully examine your turtle’s shell. I know it’s hard to look when your pet is hurt, but this step is crucial.
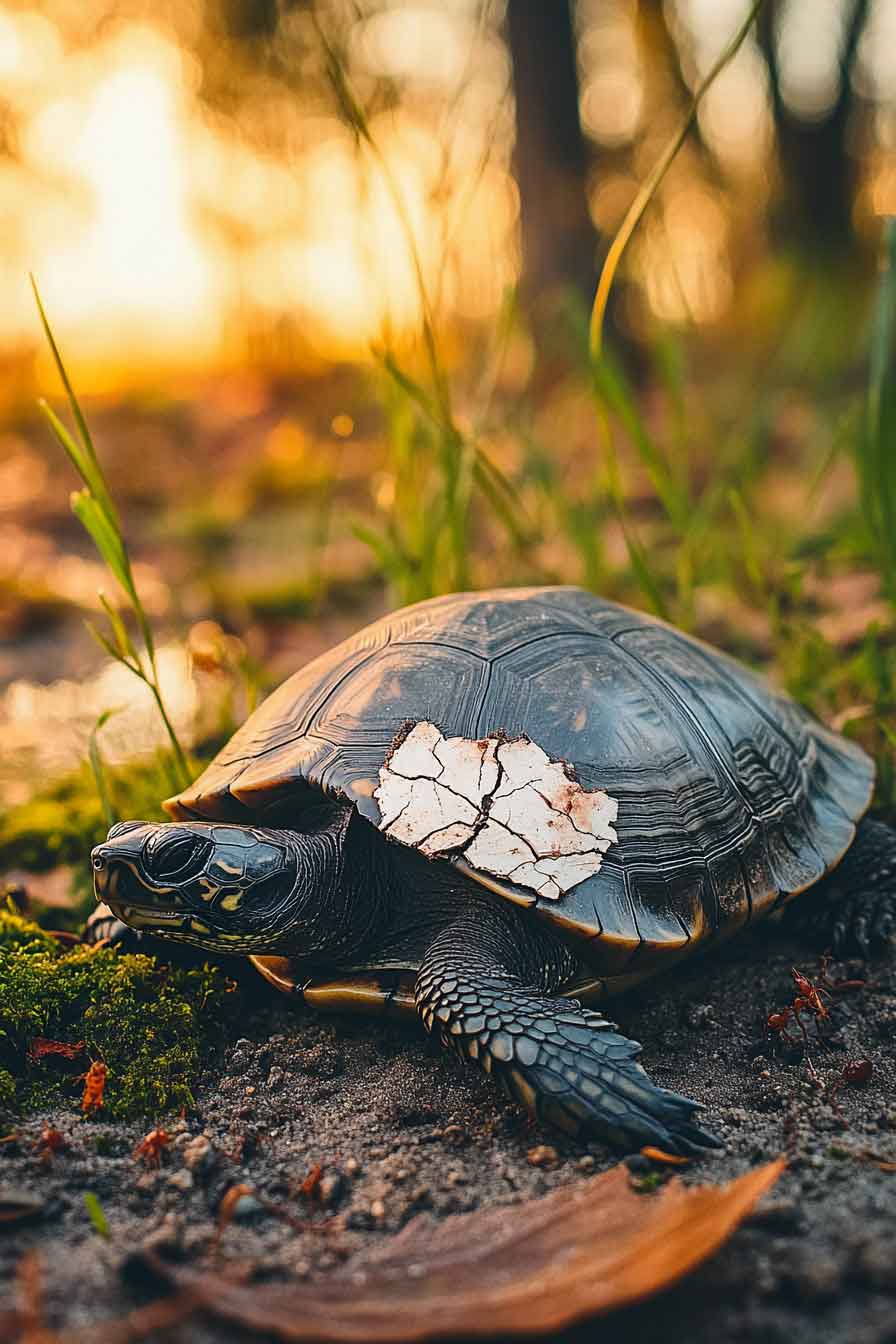
Minor Cracks:
- You’ll see a thin line or small crack in the shell
- There might be slight bleeding or no bleeding at all
- No bone is visible underneath
- The turtle is alert and moving somewhat normally
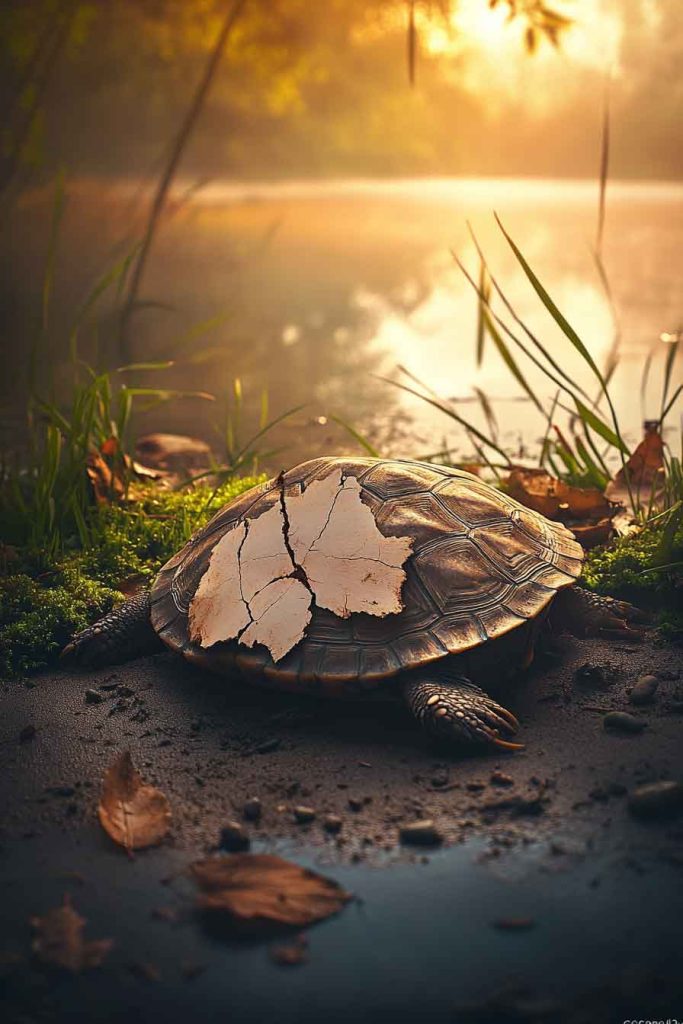
Severe Damage:
- You can see bone or internal tissue
- There’s active, heavy bleeding
- Pieces of the shell are missing
- The turtle appears weak, lethargic, or in shock
- The shell has caved inward
If you’re seeing any signs of severe damage, I urge you to stop reading and get your turtle to a veterinarian who specializes in reptiles or exotic animals immediately. Don’t try to fix severe damage yourself—your turtle needs professional medical care right away.
Step 2: First Aid for Minor Shell Injuries
If the damage appears minor, I’ll guide you through the first aid steps you can safely do at home. But please remember—even after doing these steps, you should still plan to visit a vet within 24 hours.
Protect Yourself First
Before you touch your turtle, put on clean gloves. I can’t stress this enough. Even the gentlest turtle can become aggressive when they’re in pain, and turtle bites can cause serious injury. Also, turtles can carry bacteria like salmonella, so protecting yourself is important.
Stop the Bleeding
If your turtle is bleeding, you need to stop it first. Here’s what I do:
- Take a clean, soft cloth or sterile gauze
- Apply gentle, direct pressure to the bleeding area
- Hold it there for 5-10 minutes
- Don’t keep lifting the cloth to check—this disrupts clot formation
If bleeding doesn’t stop after 15 minutes of pressure, this is an emergency. Get to a vet immediately.
Clean the Wound Thoroughly
Once bleeding has stopped or if there’s minimal bleeding, I want you to clean the wound. This is one of the most important steps because infection is a major risk.
Here’s my cleaning process:
- Mix a diluted iodine solution (like Betadine) with water. I use a 1:10 ratio—one part iodine to ten parts clean, lukewarm water
- Use a syringe (without a needle) or clean dropper to flush the wound gently
- Clean away any dirt, debris, or foreign material you can see
- Be gentle but thorough—I usually spend 5-10 minutes on this step
- Pat the area dry with a clean, soft cloth
Don’t use hydrogen peroxide or alcohol. I know these seem like good disinfectants, but they actually damage turtle tissue and slow healing.
Cover the Wound
After cleaning, cover the wound with a clean, dry cloth or sterile gauze. Change this covering daily when you clean the wound again.
Step 3: Create a Dry Recovery Environment
This step is especially important if you have an aquatic turtle. I know it seems cruel to keep your water-loving turtle out of their tank, but water exposure will prevent healing and cause serious infection.
Here’s how I set up a recovery area:
For Aquatic Turtles:
- Use a plastic container or separate tank
- Line it with soft, clean towels (change daily)
- Keep the area at room temperature (70-75°F)
- Provide a small, shallow dish of water for drinking only
- Mist your turtle 2-3 times daily to prevent dehydration
- Keep the recovery area in a quiet, low-stress location
For Land Turtles:
- Remove any rough substrate that could irritate the wound
- Use paper towels or clean towels as bedding
- Maintain appropriate temperature for your turtle species
- Keep the environment dust-free
I usually keep injured turtles in this dry environment for at least 2-4 weeks, depending on healing progress. I know it’s hard to see them out of their normal habitat, but this dramatically reduces infection risk.
Step 4: Get Veterinary Care
Even if you’ve successfully done first aid, I strongly recommend visiting a reptile veterinarian. Here’s why: shell injuries can cause internal damage you can’t see. Your turtle might have organ damage, internal bleeding, or bone infections that need professional treatment.
What to Expect at the Vet:
The veterinarian will:
- Take X-rays to check for internal injuries
- Prescribe antibiotics to prevent infection (commonly ceftazidime or enrofloxacin)
- Provide pain medication to keep your turtle comfortable
- Clean and debride the wound professionally
- Apply medical-grade treatments
- Give you detailed care instructions
I always ask my vet these questions:
- How often should I clean the wound?
- What signs of infection should I watch for?
- When can my aquatic turtle return to water?
- What should I feed during recovery?
- When should I schedule a follow-up visit?
Step 5: Ongoing Wound Care at Home
Your vet will give you specific instructions, but here’s what I typically do for ongoing care:
Daily Wound Cleaning:
- Remove the old bandage carefully
- Clean the wound with diluted iodine solution
- Inspect for signs of infection (foul odor, green/yellow discharge, increased swelling)
- Apply any prescribed antibiotic ointments
- Cover with fresh, clean bandage
I do this every single day without fail. Consistency is key to healing.
Medication Administration:
If your vet prescribed oral or injectable antibiotics, follow the schedule exactly. I set phone reminders so I never miss a dose. Missing antibiotic doses can lead to resistant infections that are much harder to treat.
Step 6: Shell Repair Methods
For more serious cracks, your veterinarian will need to repair the shell once the wound has healed enough. Let me explain the different repair methods I’ve seen used:
Zip Tie Method
For moderate cracks where the shell pieces are still present, vets sometimes use zip ties or wire. They place these across the crack to hold the shell pieces together while healing occurs. I’ve seen this work well for clean breaks.
Fiberglass and Resin Application
This is a common method for land turtles:
- The vet applies fiberglass mesh over the crack
- Medical-grade epoxy or resin bonds it to the shell
- Multiple layers are applied for strength
- The turtle must stay completely dry for 7-10 days while it cures
I don’t recommend this method for aquatic turtles because water eventually loosens the bond.
Dental Composite and Bridge Method
This is my preferred modern approach:
- Plastic or metal brackets are attached to healthy shell areas on both sides of the crack
- Dental composite material fills the gap
- This creates a “bridge” that holds shell pieces together
- It’s waterproof, so aquatic turtles can eventually return to water
- Less risk of soft tissue infection compared to fiberglass
Metal or Plastic Brackets
For large gaps or missing shell pieces, veterinarians may use:
- Medical-grade plastic patches
- Titanium brackets
- Custom-molded pieces
These are surgically attached and become permanent parts of your turtle’s shell.
Common Causes of Broken Shells (And How to Prevent Them)
Let me share the most common reasons I’ve seen turtle shells break, so you can prevent future injuries:
Dog Attacks
This is the number one cause I encounter. Dogs see turtles as toys or prey. Even friendly dogs can cause devastating damage with their powerful jaws.
Prevention:
- Never leave your turtle and dog in the same room unsupervised
- Keep your turtle’s enclosure in a dog-free room
- Teach your dog that the turtle is off-limits
- When handling your turtle outdoors, keep dogs inside
Falls from Height
Turtles are surprisingly good climbers, but terrible at landing. I’ve treated turtles who fell from tables, counters, and even second-story balconies.
Prevention:
- Never place turtle enclosures on high surfaces
- Ensure enclosure walls are tall enough (at least 3x the turtle’s length)
- Don’t leave turtles unattended on furniture
- If you must have a raised enclosure, add soft padding around the base
Lawnmower and Outdoor Accidents
Wild turtles and escaped pet turtles often get injured by lawnmowers, cars, or farm equipment.
Prevention:
- Check your yard carefully before mowing
- Keep pet turtles in secure, escape-proof enclosures
- If you find a wild turtle, move it to safety in the direction it was heading
Territorial Fighting
I’ve seen this happen when multiple turtles are housed together. Turtles are solitary creatures and can become aggressive over space, food, or basking spots.
Prevention:
- House turtles separately when possible
- If you must keep multiple turtles together, provide an enormous space
- Offer multiple basking spots and hiding areas
- Monitor for aggressive behavior and separate immediately if it occurs
Improper Handling
Dropping a turtle, even from a low height, can crack their shell.
Prevention:
- Always sit down when handling your turtle
- Hold them securely with both hands
- Teach children proper holding techniques
- Never hand your turtle to someone who isn’t comfortable holding them
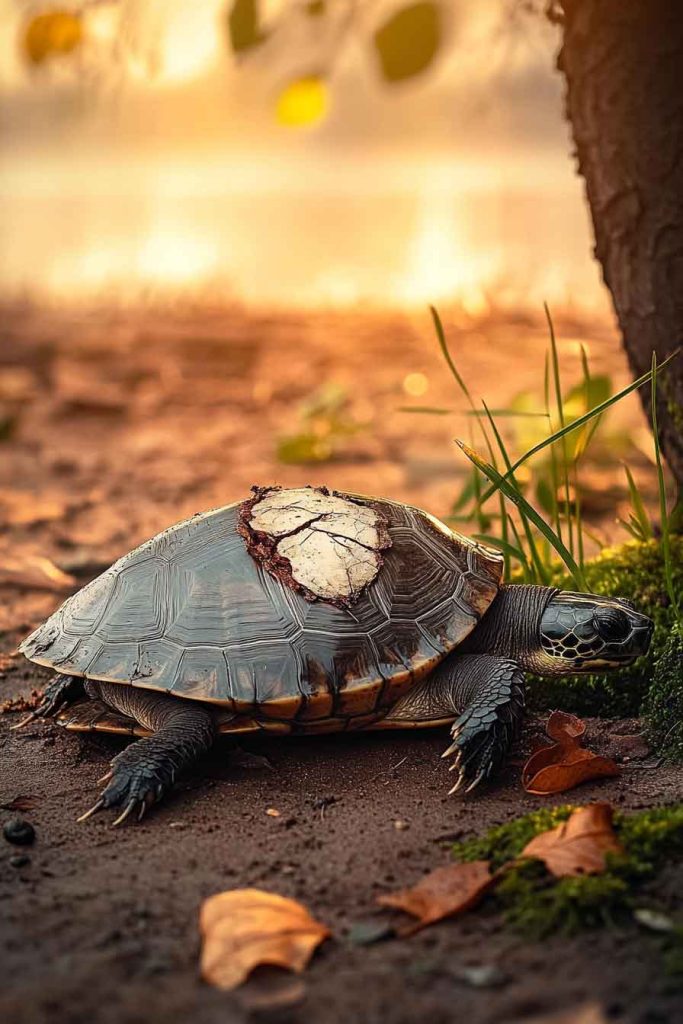
Signs Your Turtle’s Shell Is Healing Properly
I want you to know what healthy healing looks like so you can feel confident your turtle is recovering:
Good Signs:
- The wound edges are closing together
- New shell material (it looks pinkish or whitish) is forming
- Swelling is decreasing
- Your turtle is eating normally
- Energy levels are returning
- No foul odor from the wound
- Discharge (if any) is clear, not colored or thick
Warning Signs of Infection or Complications
However, you also need to know when things aren’t going well. Contact your vet immediately if you see:
Infection Signs:
- Foul, rotten smell from the wound
- Green, yellow, or brown discharge
- Increased swelling or redness
- The shell feels soft or spongy around the injury
- Dark discoloration spreading from the wound
- Your turtle refuses to eat for more than 3 days
Emergency Signs:
- Difficulty breathing
- Shell is caving inward
- Uncontrolled bleeding
- Your turtle is completely unresponsive
- Severe lethargy or weakness
Timeline for Healing
I want to set realistic expectations about recovery time. Shell healing is a slow process.
Minor Cracks:
- Initial wound healing: 2-4 weeks
- Full shell repair: 6-12 months
- Complete remodeling: 1-2 years
Major Fractures:
- Initial stabilization: 4-8 weeks
- Return to normal activity: 3-6 months
- Full shell repair: 1-3 years
- Some major injuries never fully heal cosmetically, but the turtle can live normally
For baby turtles, remember that they’re still growing. Any shell repair materials may need to be adjusted or replaced as they grow. I’ve had to replace fiberglass patches on young turtles every 6-12 months.
Caring for Your Turtle During Recovery
Your turtle needs extra attention during healing. Here’s what I focus on:
Nutrition
Offer your turtle’s favorite foods to encourage eating. Good nutrition speeds healing. I sometimes add:
- Calcium supplements (for shell repair)
- Vitamin A (for tissue healing)
- Extra protein (for tissue regeneration)
Always follow your vet’s dietary recommendations.
Pain Management
Your vet may prescribe pain medication. Use it exactly as directed. A turtle in pain won’t eat properly or heal well.
Stress Reduction
Keep your turtle’s recovery area:
- Quiet
- In a low-traffic area
- At appropriate temperature
- On a consistent day/night light cycle
Stress suppresses the immune system and slows healing.
Gentle Handling
Minimize handling to only when necessary for wound care. Each time you pick up your turtle, you risk causing pain or disrupting healing.
When Can My Aquatic Turtle Return to Water?
This is the question every aquatic turtle owner asks me. The answer depends on the injury severity and repair method used.
General Guidelines:
- Minor cracks with superficial wounds: 2-4 weeks
- Moderate damage with fiberglass repair: 6-8 weeks
- Severe damage with bridge method: 4-6 weeks (dental composite is waterproof)
- Major reconstruction: 3-6 months
Your veterinarian will determine the exact timing based on healing progress. Don’t rush this—premature water exposure can ruin months of healing and cause life-threatening infections.
Gradual Water Return:
When your vet approves water return, I do it gradually:
- Week 1: 15-minute supervised water sessions, once daily
- Week 2: 30-minute sessions, twice daily
- Week 3: 1-hour sessions, twice daily
- Week 4: Return to normal aquatic habitat
Monitor the wound carefully during each water session. If you see any swelling, redness, or problems, remove your turtle from water immediately and contact your vet.
Can a Turtle Survive a Broken Shell?
Yes, absolutely. I’ve seen turtles recover from devastating shell injuries and go on to live long, healthy lives. The key factors for survival are:
- Speed of treatment
- Severity of injury
- Quality of veterinary care
- Consistency of home care
- Prevention of infection
I’ve personally known turtles with 50% of their shell damaged who recovered fully. Modern veterinary techniques are remarkable. However, I won’t sugarcoat it—some injuries are too severe. If the spinal cord is damaged, internal organs are severely injured, or infection becomes systemic (sepsis), survival may not be possible.
Your veterinarian will be honest with you about your turtle’s prognosis. Trust their expertise.
Special Considerations for Wild Turtles
If you find an injured wild turtle, here’s what I want you to do:
- Safety First: Use gloves and be cautious—wild turtles can bite
- Move to Safety: If the turtle is in danger (road, etc.), move it to a safe spot in the direction it was heading
- Assess Quickly: Note the injury severity
- Contact Wildlife Rescue: Call your local wildlife rehabilitation center, reptile rescue, or animal control
- Follow Their Instructions: They may want you to bring the turtle in or may send someone to collect it
- Don’t Keep Wild Turtles: It’s usually illegal and not in the turtle’s best interest
Important: Don’t attempt extensive first aid on wild turtles unless instructed by a wildlife professional. Get them to experts quickly.
Cost of Treatment
I know many people worry about veterinary costs. Let me give you a realistic picture:
Initial Vet Visit: $75-$200 X-rays: $100-$300 Antibiotics: $30-$100 Pain Medication: $20-$50 Shell Repair Materials: $100-$500 Follow-up Visits: $50-$100 each
Total for Minor Injury: $300-$800 Total for Severe Injury: $800-$2,000+
I know this seems expensive, but your turtle’s life is worth it. Some vets offer payment plans, and pet insurance (if you have it) may cover exotic animals.
Prevention Is the Best Medicine
After helping many turtles recover from shell injuries, I’ve learned that prevention is so much better than treatment. Here’s my prevention checklist:
- Secure Enclosures: No escape possibilities, appropriate height
- Separation from Other Pets: Especially dogs and cats
- Safe Handling: Always sit down, use both hands
- Proper Socialization: House turtles separately when possible
- Regular Health Checks: Catch small problems before they become big ones
- Turtle-Proof Your Yard: Check before mowing, remove hazards
- Appropriate Substrate: Avoid anything sharp or rough
- Safe Outdoor Time: Only in secure, supervised areas
My Final Thoughts
I know discovering your turtle with a broken, bleeding shell is frightening. But please remember—you found this article, which means you’re taking action. That’s exactly what your turtle needs.
Follow the steps I’ve outlined:
- Assess the damage
- Provide first aid for minor injuries
- Get veterinary care
- Maintain consistent home care
- Be patient with healing
Your turtle’s shell CAN heal. I’ve witnessed it countless times. With your dedication and proper veterinary care, your turtle has an excellent chance of recovery.
Stay calm, follow instructions carefully, and don’t hesitate to contact your vet with questions or concerns. Your turtle is depending on you, and I believe you can do this.
Remember, healing takes time—sometimes months or even years. But that’s okay. Your turtle has a long life ahead, and this injury will become just a memory. Stay strong, be patient, and give your turtle the care they deserve.
If you have any concerns about your turtle’s recovery or notice any warning signs I mentioned, don’t wait—contact your veterinarian immediately. It’s always better to be overly cautious when it comes to your pet’s health.
Your turtle is lucky to have you. Now go help them heal.