Bubbles In Turtle Tank: How To Get Rid of It?
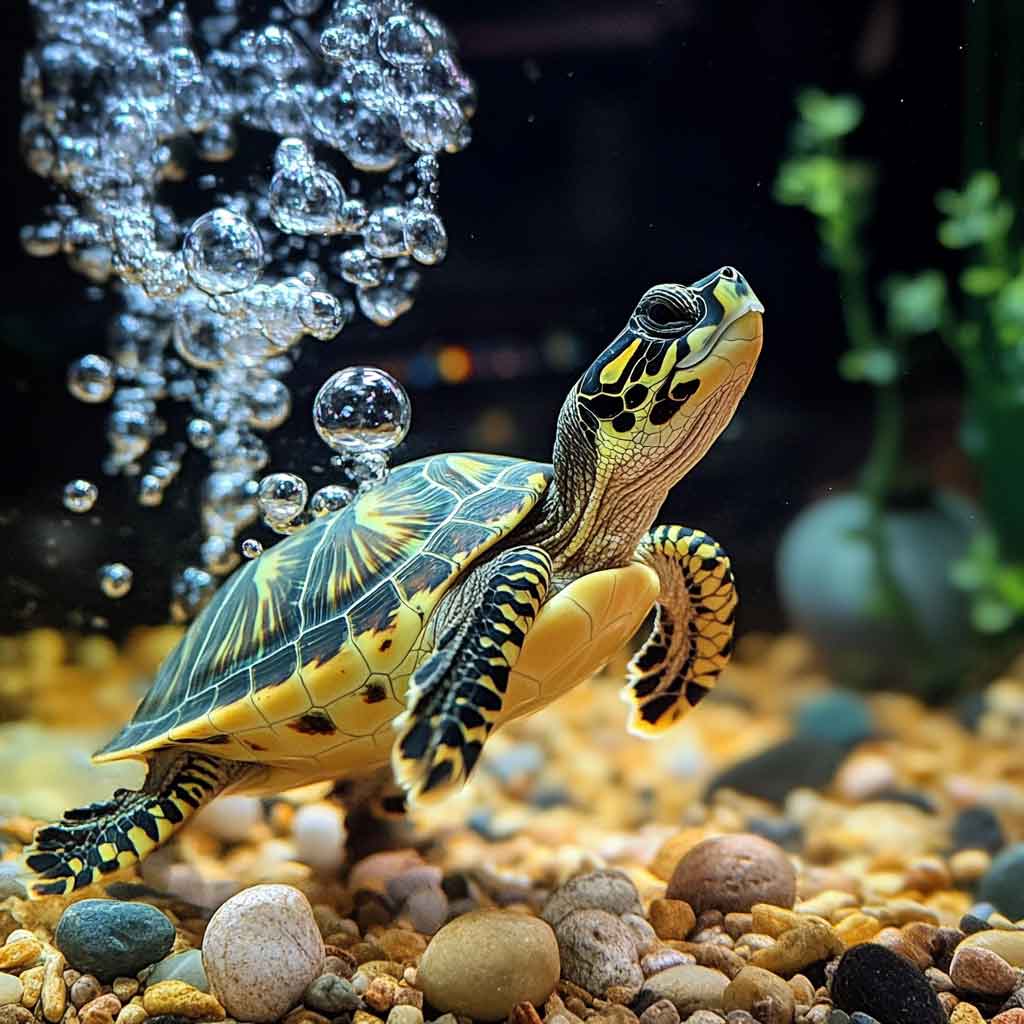
Bubbles in your turtle tank can be a common sight, but excessive or persistent bubbles may indicate an issue that needs addressing. While some bubbles are harmless, others could signal poor water quality or equipment problems, which can affect your turtle’s health. We’ve researched this topic thoroughly to provide you with a comprehensive guide on…
Bubbles in your turtle tank can be a common sight, but excessive or persistent bubbles may indicate an issue that needs addressing. While some bubbles are harmless, others could signal poor water quality or equipment problems, which can affect your turtle’s health. We’ve researched this topic thoroughly to provide you with a comprehensive guide on why bubbles form in turtle tanks and how to eliminate them effectively.
In this article, I ’ll explore the causes of bubbles in turtle tanks, practical steps to get rid of them, and tips to prevent them from returning. Whether it’s due to filtration issues, water chemistry, or other factors, we’ve got you covered with clear solutions to keep your turtle’s habitat clean and healthy.
What Causes Bubbles in a Turtle Tank?
Bubbles in a turtle tank can arise from various sources, ranging from natural processes to equipment malfunctions. Understanding the root cause is the first step to addressing the problem. On average, minor bubbles from filter output or turtle activity are normal, but persistent foam or excessive bubbling may indicate an underlying issue.
Here are the primary reasons bubbles might appear in your turtle tank:
1. Filter Output or Aeration
Turtle tank filters, especially those with strong water flow, can introduce air into the water, creating bubbles. This is particularly common with canister filters or powerheads that agitate the surface. While these bubbles are generally harmless, they can be unsightly or indicate improper filter setup.
2. Poor Water Quality
Dirty water or an accumulation of organic waste, such as uneaten food or turtle waste, can lead to bubbles. Decomposing organic matter releases gases that form bubbles or foam, often accompanied by a foul odor. This is a sign that your tank needs immediate attention to restore water quality.
3. Protein Buildup or Surface Film
Proteins from turtle food, waste, or decaying plants can create a foamy layer on the water’s surface. This foam traps air, forming persistent bubbles. High protein levels are often linked to overfeeding or inadequate filtration.
4. Chemical Imbalances
The use of certain water conditioners, soaps, or improper cleaning agents can alter the water’s surface tension, causing bubbles to form and linger. Even residue from cleaning products on tank equipment can contribute to this issue.
5. Turtle Activity
Turtles are active creatures, and their movements—such as splashing, digging, or blowing bubbles from their noses—can create temporary bubbles. These are usually harmless and dissipate quickly.
How to Get Rid of Bubbles in Your Turtle Tank
Once you’ve identified the potential cause of the bubbles, you can take targeted steps to eliminate them. Below are practical solutions to address the most common culprits:
Step 1: Check and Adjust Your Filter
- Inspect the filter output: Ensure the filter’s outflow is positioned below the water surface to minimize surface agitation. If the output is spraying or splashing, adjust it to reduce air intake.
- Clean the filter: A clogged filter may trap air or reduce water flow, contributing to bubbles. Rinse the filter media in tank water (not tap water) to preserve beneficial bacteria, and replace any worn-out components.
- Consider a baffle: For filters with strong output, attach a sponge or baffle to diffuse the flow and reduce bubble formation.
Step 2: Improve Water Quality
- Perform a partial water change: Replace 25-50% of the tank water with dechlorinated water at the same temperature as the tank. This dilutes organic waste and reduces gas buildup.
- Vacuum the substrate: Use a gravel vacuum to remove uneaten food, waste, or debris from the tank bottom, as these can decompose and cause bubbles.
- Test water parameters: Use a water testing kit to check for ammonia, nitrite, and nitrate levels. High levels indicate poor water quality, which can contribute to bubbling. Aim for ammonia and nitrite levels of 0 ppm and nitrate below 40 ppm.
Step 3: Address Protein Buildup
- Skim the surface: Use a clean paper towel or a surface skimmer to remove foamy buildup from the water’s surface. This helps eliminate trapped proteins and oils.
- Reduce feeding: Overfeeding is a common cause of protein buildup. Feed your turtle only what they can consume in 5 minutes, and remove any uneaten food promptly.
- Add a protein skimmer: For larger tanks, a protein skimmer can help remove organic compounds before they break down and form bubbles.
Step 4: Correct Chemical Imbalances
- Avoid soaps and detergents: Never use soap or household cleaners to clean your turtle tank or its equipment, as these can leave residues that cause bubbles. Use only aquarium-safe cleaning tools and rinse thoroughly with dechlorinated water.
- Check water conditioners: Some water conditioners can create bubbles if overused. Follow the manufacturer’s dosage instructions carefully, and ensure the product is suitable for turtle tanks.
- Test for surfactants: If bubbles persist despite cleaning, test for surfactants (chemicals that reduce surface tension) by filling a clean glass with tank water and shaking it. If bubbles form and last more than a minute, surfactants may be present. Perform multiple partial water changes to dilute them.
Step 5: Monitor Turtle Behavior
- Observe your turtle: If bubbles are caused by your turtle’s activity, such as blowing bubbles or splashing, this is typically normal and requires no action. However, excessive bubble-blowing could indicate respiratory issues, especially if accompanied by lethargy or wheezing. Consult a reptile veterinarian if you notice these symptoms.
- Provide a basking area: Ensure your turtle has a comfortable, accessible basking dock. Turtles that feel secure on land are less likely to create excessive bubbles by staying in the water and agitating it.
How to Prevent Bubbles from Returning
Once you’ve eliminated bubbles from your turtle tank, maintaining a clean and stable environment is key to preventing their return. Here are proactive steps to keep your tank bubble-free:
1. Maintain a Regular Cleaning Schedule
- Weekly water changes: Replace 25-30% of the tank water weekly to keep organic waste levels low. This reduces the chance of gas buildup and protein foam.
- Clean filters monthly: Rinse filter media and check for clogs or air traps. Replace filter cartridges or media as recommended by the manufacturer.
- Remove debris promptly: Use a turkey baster or net to remove uneaten food and waste daily, preventing decomposition that leads to bubbles.
2. Optimize Tank Setup
- Choose the right filter: Select a filter rated for at least twice the tank’s volume to handle the high waste output of turtles. Canister filters or those with adjustable flow are ideal for minimizing bubbles.
- Ensure proper water circulation: Position the filter to create gentle water movement without excessive surface agitation. This reduces air entrapment and bubble formation.
- Use turtle-safe substrate: Opt for large river rocks or no substrate at all, as fine gravel can trap waste and contribute to poor water quality.
3. Feed Responsibly
- Feed in a separate container: To minimize food residue in the tank, feed your turtle in a separate container filled with water. This keeps the main tank cleaner and reduces organic buildup.
- Offer a balanced diet: Provide high-quality turtle pellets, supplemented with vegetables and occasional protein treats. Avoid cheap, high-fat foods that increase protein waste.
4. Monitor Water Parameters
- Test regularly: Check ammonia, nitrite, nitrate, and pH levels weekly using a reliable test kit. Maintaining stable parameters prevents conditions that promote bubbles.
- Keep water temperature stable: Turtles thrive in water temperatures between 75-85°F. Use a submersible heater and thermometer to maintain consistent temperatures, as fluctuations can stress turtles and affect water quality.
This is the second chunk of the blog post, covering additional steps to eliminate bubbles and preventive measures. Please let me know if this works by saying “ok” to proceed with the third and final chunk, or “rewrite” if you’d like me to revise this section.
Common Mistakes to Avoid
When addressing bubbles in your turtle tank, certain missteps can worsen the problem or harm your turtle. Here are pitfalls to steer clear of:
- Overcleaning the tank: Avoid completely draining and scrubbing the tank, as this disrupts beneficial bacteria that help maintain water quality. Stick to partial water changes and gentle cleaning.
- Using tap water without treatment: Untreated tap water contains chlorine or chloramines, which can harm turtles and alter water chemistry, potentially causing bubbles. Always use a dechlorinator.
- Ignoring filter maintenance: A neglected filter can become a source of bubbles and poor water quality. Regularly check and clean your filter to ensure it functions properly.
- Adding too many chemicals: Overusing water conditioners or additives can introduce surfactants that create bubbles. Use only the recommended amounts of turtle-safe products.
FAQs
1. Are bubbles in a turtle tank dangerous for my turtle?
Not all bubbles are harmful. Bubbles from filter output or turtle activity are usually normal. However, persistent foam or bubbles caused by poor water quality can indicate high ammonia or organic waste, which can stress or harm your turtle if left unaddressed.
2. How often should I change the water in my turtle tank?
Perform a 25-30% water change weekly, using dechlorinated water at the same temperature as the tank. If bubbles or water quality issues persist, increase the frequency to twice weekly until conditions stabilize.
3. Can I use a sponge filter to reduce bubbles?
Yes, sponge filters produce fewer bubbles than other filter types because they rely on gentle air-driven flow. They’re a good option for smaller tanks but may not be sufficient for larger setups with multiple turtles.
4. Why does my turtle tank have foamy bubbles?
Foamy bubbles are often caused by protein buildup from uneaten food, waste, or decaying plants. Reduce feeding, perform a partial water change, and skim the surface to remove foam. A protein skimmer can also help in larger tanks.
Final Word
Bubbles in your turtle tank can range from harmless to problematic, depending on their cause. By identifying the source—whether it’s a filter issue, poor water quality, or protein buildup—you can take targeted steps to eliminate them. Regular maintenance, proper feeding, and a well-optimized tank setup are key to preventing bubbles from returning.
Keeping your turtle’s environment clean and stable not only eliminates bubbles but also ensures your pet stays healthy and happy. Monitor water parameters, clean diligently, and address issues promptly to maintain an ideal habitat for your aquatic turtle.