How to Hatch Turtle Eggs At Home Without An Incubator?
The process of hatching turtle eggs might sound like something best left to nature or fancy labs. But guess what? You can actually do it at home—without using any high-end incubator. I’ve been through this journey, and in this post, I’ll walk you through everything I learned about how to hatch turtle eggs at home…
The process of hatching turtle eggs might sound like something best left to nature or fancy labs. But guess what? You can actually do it at home—without using any high-end incubator. I’ve been through this journey, and in this post, I’ll walk you through everything I learned about how to hatch turtle eggs at home with simple tools, patience, and care.
If you’re wondering, “Is it really possible to hatch turtle eggs without an incubator?” — yep, it absolutely is. Let me show you how I did it and how you can, too.
Can You Hatch Turtle Eggs at Home Without an Incubator?
Yes, you can. While incubators offer a controlled environment, they’re not your only option. In fact, turtle eggs in the wild don’t have fancy machines around them—they rely on the earth, warmth, and a stable, moist spot. So, replicating a similar environment at home is not just possible, it’s also kind of fun and rewarding if you’re up for a slow, nature-inspired project.
When I first tried hatching turtle eggs, I was nervous. But once I figured out the basics—like maintaining the right temperature and humidity—I realized it wasn’t as complicated as I feared. You just need to mimic what nature does.
What You’ll Need to Get Started
Here’s what I used to hatch my turtle eggs at home, without an incubator:
- A plastic container with a lid (shoebox-sized works well)
- Clean, moist vermiculite or sphagnum moss
- A thermometer and a humidity gauge
- A small desk lamp or heating pad
- A spray bottle with clean water
- A dark, quiet spot in the house with stable temperature (like a closet or storage room)
That’s really it. Most of these things I already had at home—and if you don’t, they’re pretty affordable to grab from any pet or gardening store.
Step-by-Step Guide: How I Hatched My Turtle Eggs at Home
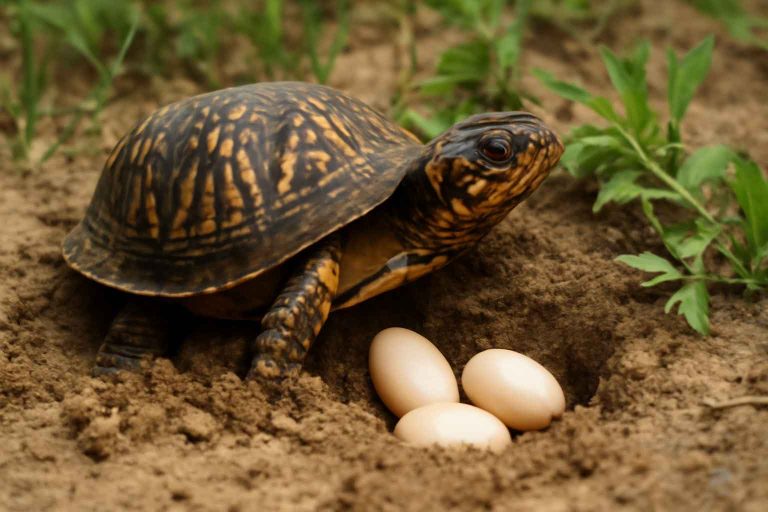
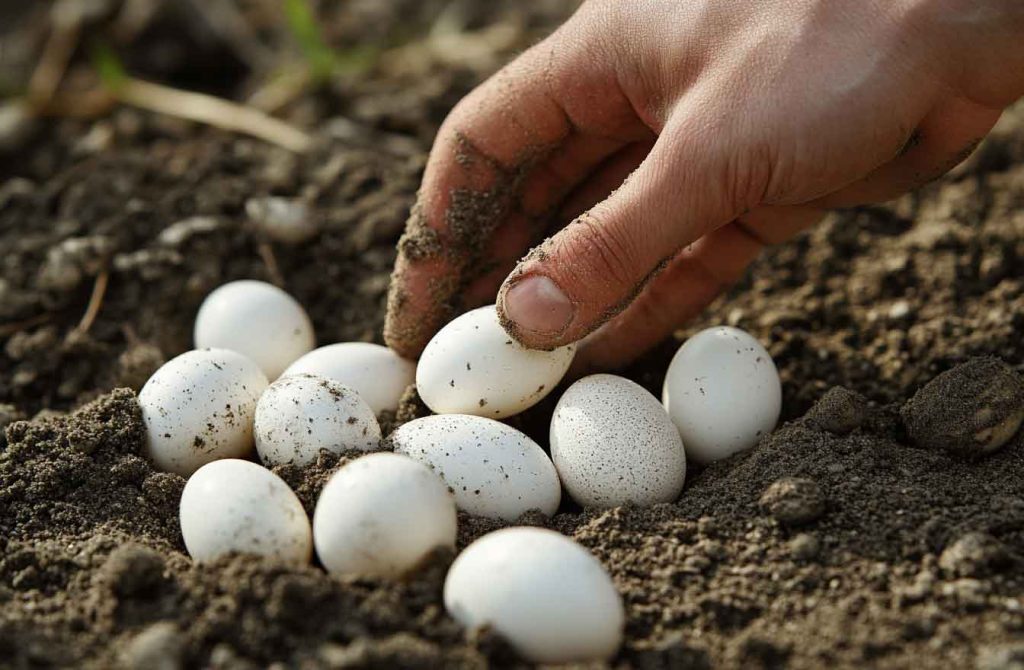
Step 1: Carefully Collect the Eggs
If your turtle has laid eggs in a tank or backyard, gently collect them without rotating or flipping them. Turtle embryos attach to the top part of the egg shortly after being laid, so any flipping might harm the developing baby turtle.
I marked the top of each egg lightly with a pencil when I found them. That way, I always knew which side had to stay up. Be super gentle with them—think of them like little, squishy marbles made of hope.
Step 2: Prepare the Substrate
I used vermiculite, but you can also use sphagnum moss. The trick is to make it damp but not soggy. I mixed one part water to one part vermiculite by weight (not volume). That gave me a moist, crumbly mix that clumped slightly when squeezed but didn’t drip water.
You want enough moisture to support humidity, but not so much that you drown the eggs. This step makes or breaks the hatch rate.
Step 3: Create Your DIY Hatching Box
I poked a few tiny holes in the container lid for air circulation. Then, I filled the bottom with 2-3 inches of the moist vermiculite and made small indentations where I gently placed each egg—mark side up.
Make sure the eggs aren’t touching each other. This helps prevent mold spread if one goes bad. I checked the box every day to make sure the substrate stayed moist and the temperature was right.
Step 4: Maintain the Right Temperature and Humidity
Now this part took a little trial and error for me—but it’s not too hard once you get into a rhythm. Turtle eggs typically need a temperature between 80°F and 86°F (27°C to 30°C). You can use a heat lamp positioned above the container or a heating pad under it (but never both at once—you don’t want to overheat them).
I placed a thermometer probe inside the box (not directly on the eggs) to monitor the air temperature. It really helped to check it twice a day just to stay consistent. If the temperature dropped too low at night, I gently adjusted the heat source.
As for humidity, it needs to be high—about 75% to 90%. I used a small digital hygrometer to track this. When it dipped, I just misted the sides of the container (not the eggs!) with the spray bottle to raise it back up.
Tip: Avoid direct sunlight. It can cause quick temperature spikes that hurt the eggs. A steady, warm environment is way better than fluctuating heat.
Step 5: Wait, Watch, and Be Patient
Turtle eggs don’t hatch overnight—this part takes 45 to 90 days, depending on the species and temperature. Mine took around 65 days.
I didn’t touch them during this time unless I had to check for mold or dryness. Some eggs got a bit dented-looking as they developed, but that was normal. If one turned yellow, started to smell bad, or grew fuzzy mold, I removed it right away to protect the rest.
I checked every morning and night. It honestly felt like watching a long movie in slow motion—but once those first little cracks appeared, it all felt worth it.
Step 6: Hatching Begins
When a baby turtle is ready to hatch, it will use its tiny egg tooth to break through the shell. This is called “pipping.” I saw a small slit form first, and over the next couple of days, it grew wider until the hatchling slowly pushed itself out.
Don’t rush it. I didn’t interfere, even when I was tempted. It’s best to let them take their time. Once they’re out, they’ll still have a yolk sac attached—this provides nourishment and should not be disturbed.
I kept the hatchlings inside the container until the yolk sac was absorbed (usually 1–3 days). Only then did I gently move them to a shallow water setup.
Step 7: After Hatching – What to Do Next
Once the hatchlings are fully out and the yolk sac is absorbed, I gently moved them to a shallow plastic container with just enough clean, dechlorinated water to keep them moist but safe from drowning. I added a small flat rock so they could climb out and rest.
They don’t eat right away—mine started nibbling after about 4–5 days. During that time, I made sure they stayed warm, safe, and clean. You can introduce leafy greens and small turtle pellets after their first few days.
Also, I kept them separate from adult turtles. Baby turtles are fragile and need their own safe space to grow strong without competition or injury.
Common Mistakes to Avoid (From My Experience)
Let me be real with you—I made a few mistakes early on. Here’s what I learned the hard way so you don’t have to:
- Do not rotate the eggs after you collect them. Always keep the same side up.
- Don’t let the substrate get soggy. It can drown the eggs or grow mold.
- Avoid direct heat on the eggs—no hot lamps or pads directly touching the container.
- Don’t rush hatching. If they’re pipping, let them break out naturally.
- Never wash or clean the eggs. Dirt is fine; scrubbing harms the shell.
Being careful, observant, and patient made a big difference. It’s kind of amazing watching new life happen like that—right in your home.
FAQs About Hatching Turtle Eggs at Home
1. How long does it take turtle eggs to hatch without an incubator?
Anywhere from 45 to 90 days, depending on the species and how stable the environment is. Consistency is key—especially for temperature and humidity.
2. Can I use a regular heating pad?
Yes, but only underneath the container and never on high heat. Always test it first to make sure it holds a steady temperature between 80°F–86°F. I kept mine on the lowest setting with a towel in between.
3. What should I do if mold appears?
If you see fuzzy white or green mold on an egg, carefully remove that egg to stop it from affecting the rest. Sometimes, the egg might still hatch, but usually, mold is a sign of a bad egg.
4. What if the egg dents?
That’s not always a bad sign. Some denting is normal as the embryo develops. If the dent is severe or the egg turns yellow or smells, it might not be viable.
Final Thoughts
Hatching turtle eggs at home without an incubator is totally doable—it just takes some care, patience, and a love for these little creatures. I didn’t use anything fancy—just a homemade setup and daily attention. It became a special, quiet routine I looked forward to every day.
If you’re planning to try it, I hope this guide helps you avoid the mistakes I made and gives you the confidence to give those eggs the best chance at life.