How To Preserve A Turtle Shell: A Step-by-Step Guide
Preserving a turtle shell can be a meaningful way to honor the animal, whether for educational purposes, display, or as a keepsake. However, the process requires careful attention to detail to ensure the shell is properly cleaned, preserved, and maintained without causing damage. This guide provides a step-by-step approach to preserving a turtle shell safely…
Preserving a turtle shell can be a meaningful way to honor the animal, whether for educational purposes, display, or as a keepsake. However, the process requires careful attention to detail to ensure the shell is properly cleaned, preserved, and maintained without causing damage. This guide provides a step-by-step approach to preserving a turtle shell safely and effectively.
In this article, we’ll walk you through the entire process of preserving a turtle shell, from preparation to long-term care. We’ll also cover the tools you’ll need, safety precautions, and tips to avoid common mistakes.
Why Preserve a Turtle Shell?
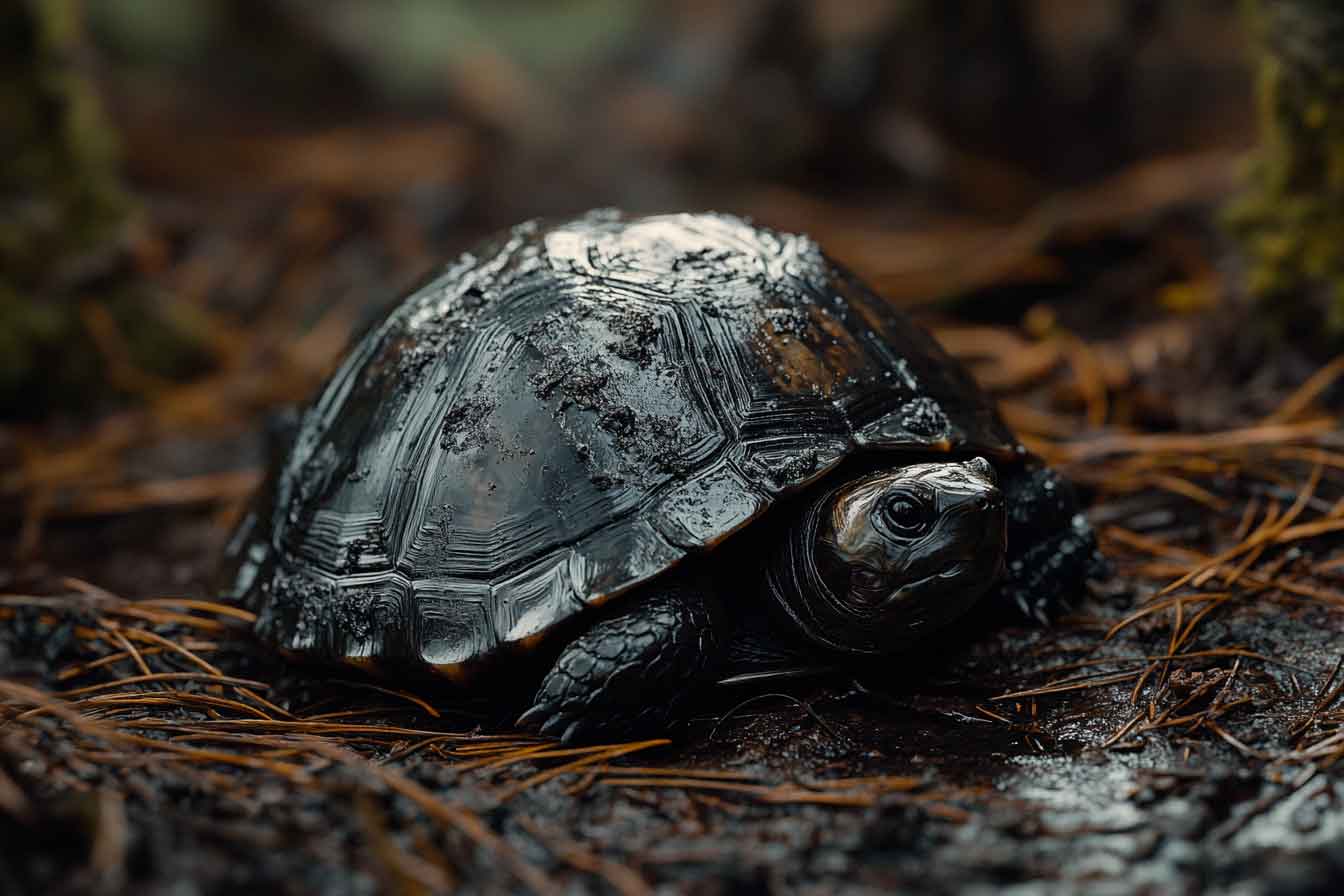
Turtle shells are unique natural structures, composed of keratin and bone, that can serve as fascinating biological specimens or decorative pieces. Preserving a shell allows you to study its anatomy, use it in educational settings, or display it as a tribute to the animal. However, improper handling can lead to odor, decay, or damage, so following the correct steps is essential.
Before starting, ensure that possessing the turtle shell is legal in your area, as some species are protected under wildlife laws. Always source shells ethically, such as from naturally deceased turtles or those obtained with proper permits.
Tools and Materials Needed
To preserve a turtle shell, you’ll need the following items:
- Protective gloves and mask (to avoid contact with bacteria)
- Soft-bristled brush (for cleaning)
- Bucket or container (for soaking)
- Mild dish soap or hydrogen peroxide (for cleaning and disinfecting)
- Tweezers or pliers (for removing tissue)
- Borax or baking soda (optional, for odor control)
- Clear sealant or polyurethane (for preservation)
- Soft cloth (for drying and polishing)
Having these tools ready will make the process smoother and safer.

Step 1: Preparing the Turtle Shell
The first step in preserving a turtle shell is to clean and prepare it thoroughly. This involves removing any remaining tissue, flesh, or debris to prevent decay and odor.
Cleaning the Shell
- Wear Protective Gear: Put on gloves and a mask to protect yourself from bacteria or pathogens that may be present on the shell.
- Remove Soft Tissue: Use tweezers, pliers, or a small knife to carefully remove any remaining flesh, skin, or tissue from the inside and outside of the shell. Be gentle to avoid scratching or damaging the shell’s surface.
- Soak the Shell: Place the shell in a bucket of warm water mixed with mild dish soap. Let it soak for 24-48 hours to loosen any remaining debris. Avoid using hot water, as it can weaken the shell.
- Scrub Gently: After soaking, use a soft-bristled brush to scrub the shell, focusing on crevices where tissue may be lodged. Rinse thoroughly with clean water.
Dealing with Odor
If the shell has a strong odor, you can soak it in a solution of 3% hydrogen peroxide for 12-24 hours. This will disinfect the shell and help eliminate smells. Alternatively, sprinkle borax or baking soda inside the shell and let it sit for a few days to absorb odors.
Drying the Shell
Once cleaned, pat the shell dry with a soft cloth and place it in a well-ventilated area to air dry completely. This may take 2-3 days, depending on the humidity. Avoid direct sunlight, as it can cause the shell to crack or fade.
Step 2: Preserving the Turtle Shell
Once the shell is clean and dry, the next step is to preserve it to ensure its longevity and prevent deterioration. This involves disinfecting the shell further and applying a protective coating to maintain its appearance and structural integrity.
Disinfecting the Shell
To ensure no bacteria or mold develop over time, disinfect the shell thoroughly:
- Hydrogen Peroxide Soak: Submerge the shell in a 3% hydrogen peroxide solution for 12-24 hours. This step not only disinfects but also whitens the shell, giving it a polished look. Check periodically to avoid over-bleaching, which can weaken the shell.
- Rinse and Dry: After soaking, rinse the shell with clean water to remove any residual peroxide. Pat it dry with a soft cloth and let it air dry completely in a shaded, well-ventilated area.
Applying a Protective Sealant
To protect the shell from moisture, dust, and physical damage, apply a clear sealant:
- Choose the Right Sealant: Use a clear polyurethane varnish or a museum-grade shellac for best results. These products are durable and provide a glossy or matte finish, depending on your preference.
- Apply Thin Layers: Using a soft brush or cloth, apply a thin, even layer of sealant to both the inside and outside of the shell. Work in a well-ventilated area and follow the product’s instructions.
- Let It Dry: Allow the first coat to dry completely, which may take 4-6 hours. Apply a second coat for added protection, ensuring no bubbles or streaks form.
- Buff the Surface: Once the sealant is fully dry (usually after 24 hours), gently buff the shell with a soft cloth to enhance its shine.
Optional Enhancements
If you want to display the shell, consider mounting it on a stand or adding a small label with the species name and date of preservation. Avoid using adhesives directly on the shell, as they can cause damage over time.
Common Mistakes to Avoid
Preserving a turtle shell can be straightforward, but there are pitfalls to watch out for:
- Skipping Cleaning Steps: Failing to remove all tissue can lead to rot and foul odors.
- Using Harsh Chemicals: Bleach or strong acids can weaken the shell’s structure. Stick to mild solutions like hydrogen peroxide.
- Overexposure to Sunlight: Drying the shell in direct sunlight can cause cracking or fading.
- Rushing the Process: Allow ample time for soaking, drying, and sealing to ensure the best results.
By taking your time and following these steps, you’ll end up with a beautifully preserved turtle shell that can last for years.
Step 3: Long-Term Care and Maintenance
After preserving your turtle shell, proper care is essential to keep it in pristine condition for years to come. This section covers how to store, display, and maintain the shell, along with answers to common questions about the process.
Storing the Shell
To prevent damage, store the shell in a suitable environment:
- Avoid High Humidity: Store the shell in a dry, cool place to prevent mold or mildew. A humidity level below 50% is ideal.
- Use a Protective Case: If not on display, place the shell in a padded box or container to protect it from dust and accidental bumps.
- Keep Away from Direct Sunlight: Prolonged exposure to sunlight can fade the shell’s colors and weaken the sealant. Use UV-protective glass if displaying in a sunny area.
Displaying the Shell
If you plan to showcase the shell, consider these tips:
- Use a Stand or Mount: A custom stand or wall mount can highlight the shell’s beauty without stressing its structure.
- Avoid Handling: Limit handling to prevent oils from your hands from degrading the sealant. Wear gloves if you need to move or clean it.
- Dust Regularly: Use a soft, dry cloth or a feather duster to gently remove dust from the shell’s surface.
Maintaining the Shell
Over time, the shell may need minor upkeep:
- Reapply Sealant: Every 2-3 years, inspect the sealant for signs of wear. If it appears dull or chipped, lightly sand the surface with fine sandpaper and apply a fresh coat of polyurethane.
- Check for Damage: Look for cracks, discoloration, or odor, which could indicate improper storage or incomplete cleaning. Address issues promptly to prevent further deterioration.
- Clean Gently: If the shell becomes dirty, wipe it with a damp cloth and mild soap, then dry thoroughly. Avoid soaking it again, as this can weaken the sealant.
FAQs
1. Is it legal to preserve a turtle shell?
The legality of preserving a turtle shell depends on your location and the species. Some turtles are protected under wildlife laws, so check local regulations and ensure the shell was sourced ethically (e.g., from a naturally deceased animal or with proper permits).
2. How long does it take to preserve a turtle shell?
The entire process, including cleaning, drying, and sealing, typically takes 5-7 days. Rushing any step can lead to poor results, so patience is key.
3. Can I preserve a shell without chemicals?
Yes, but it’s more challenging. You can clean the shell with water and a brush and let it dry thoroughly, but skipping disinfectants like hydrogen peroxide increases the risk of bacterial growth or odor.
4. Why does my preserved shell still smell?
A persistent odor usually means some tissue was not fully removed during cleaning. Soak the shell in hydrogen peroxide again, scrub thoroughly, and ensure it’s completely dry before resealing.
Final Word
Preserving a turtle shell is a rewarding process that allows you to create a lasting tribute to a remarkable animal. By following the steps outlined—preparing and cleaning the shell, preserving it with a sealant, and maintaining it properly—you can ensure the shell remains beautiful and intact for years.
Always handle the shell with care, use the right tools, and check local laws to ensure compliance. With patience and attention to detail, your preserved turtle shell can serve as an educational tool, a decorative piece, or a cherished keepsake.