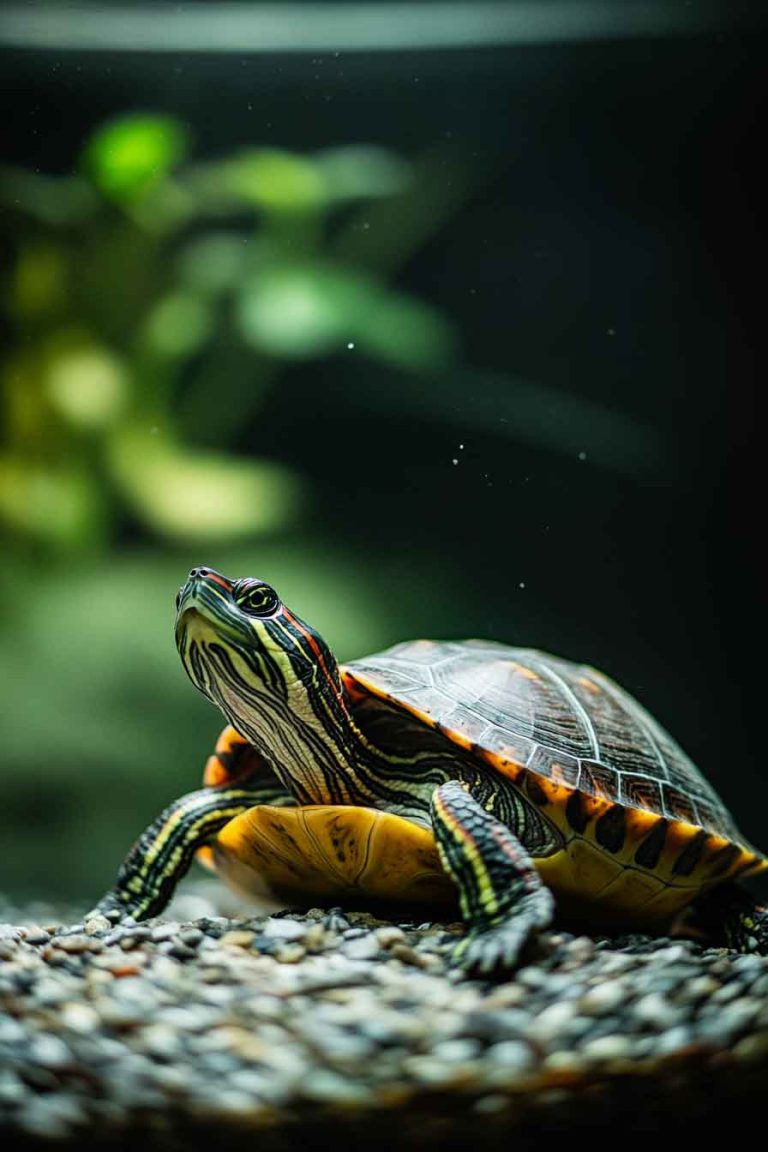
Red-Eared Slider Shell Rot: Signs, Treatment, and How to Heal It Fast
If you’re like me, you probably check your turtle’s shell often — especially during water changes or basking sessions. So when I first noticed a soft spot with a strange color on my red-eared slider’s plastron, I brushed it off as natural shedding. A few days later? That soft spot looked worse, had a foul…
If you’re like me, you probably check your turtle’s shell often — especially during water changes or basking sessions. So when I first noticed a soft spot with a strange color on my red-eared slider’s plastron, I brushed it off as natural shedding. A few days later? That soft spot looked worse, had a foul smell, and even started oozing a little. That’s when I learned the hard way about shell rot.
Let’s be honest — shell rot can look terrifying if you’ve never seen it before. But here’s the thing: it’s more common than most people think, and if caught early, it’s 100% treatable — sometimes even at home.
In this guide, I’ll share everything I’ve learned from treating shell rot in my own turtle — from the earliest signs I noticed, to what worked (and what didn’t), plus recovery tips and when to get a vet involved.
What Exactly Is Shell Rot?
Shell rot is a bacterial or fungal infection that eats away at the layers of a turtle’s shell — and if left untreated, it can even spread into the bones underneath.
In red-eared sliders, shell rot can affect:
- The carapace (top shell)
- The plastron (bottom shell)
- Or both
It usually starts when the shell is damaged or constantly wet, which allows bacteria or fungus to get in. Turtles in dirty water, with poor basking setups, or recovering from injuries are especially at risk.
What’s scary is how quietly it begins. In my case, my turtle was eating and swimming just fine — but I missed those early signs until it started to smell. That’s why being proactive makes all the difference.
Types of Shell Rot in Red-Eared Sliders
From my experience and research, there are two main types:
1. Wet Shell Rot
This is the one I dealt with — and it progresses fast. The infected area may:
- Appear soft, slimy, or moist
- Develop a foul odor
- Ooze fluid or pus
- Have white, gray, or yellowish patches
- Peel or flake
Wet rot thrives in poor water conditions, especially when basking access is limited. It often needs immediate intervention.
2. Dry Shell Rot
This one moves slower but can still be serious. Signs include:
- Dry, flaky, or cracked scutes
- Discoloration (often gray or brown)
- Dull or uneven shell texture
- No bad smell (usually)
Dry rot is more common in wild turtles or those recovering from old injuries. It can still become infected and turn wet if not managed.
Early Signs I Noticed on My Turtle
Here’s how it started for me:
- One soft spot on the bottom shell
- Color looked off — pale gray, not part of normal shedding
- Shell felt slightly spongy in that area
- No pain reaction, but definitely different from the rest of the shell
- A few days later: faint sour smell, and my turtle stayed in the water longer than usual
That’s when I realized something was wrong and started researching shell rot treatment. I’m so glad I caught it early.
What Causes Shell Rot in Red-Eared Sliders?
Once I dug into what led to my turtle’s shell rot, I realized it was a mix of a few small mistakes that added up over time. Most cases don’t happen overnight — they build slowly when the turtle’s environment isn’t ideal.
Here are the most common causes I’ve seen or experienced:
1. Poor Water Quality
This is probably the #1 cause. Dirty water filled with waste, uneaten food, or unbalanced pH creates the perfect breeding ground for harmful bacteria and fungus.
Even though I was doing partial water changes, I hadn’t tested ammonia levels or cleaned the filter regularly. That mistake cost me.
2. Inadequate Basking Setup
Turtles must fully dry out every day. If your red-eared slider doesn’t bask long enough or can’t fully dry its shell, moisture gets trapped under the scutes — and that’s when bacteria take hold.
In my case, the basking platform was too small, and my UVB bulb was past its expiration. I didn’t even realize UVB weakens over time.
3. Shell Injury
Any cut, scrape, crack, or missing scute — even something minor — opens the door to infection. This is especially risky if your turtle shares a tank and gets nipped by tankmates.
4. Shedding Complications
Red-eared sliders naturally shed scutes. But if the old scutes don’t lift properly or trap moisture underneath, it can lead to infection. I once saw a case where rot formed under a partially lifted scute — completely hidden until it smelled bad.
How I Treated My Turtle’s Shell Rot at Home (Step-by-Step)
Disclaimer: This method works for early or mild cases only. If the shell is bleeding, deeply pitted, or smells rotten, skip this and go straight to a vet.
Here’s exactly what I did over 10 days:
Step 1: Isolate and Dry-Dock
- I set up a dry bin with soft towels and a heat lamp.
- My turtle stayed out of water for 6–8 hours daily with access to warmth and UVB light.
- I only soaked him in clean, warm water once per day for 30 minutes to stay hydrated.
Step 2: Clean the Infected Area
- I gently cleaned the affected scutes using a soft toothbrush and diluted Betadine (povidone-iodine) — about a 1:10 ratio with water.
- This removed slime, bacteria, and debris. I patted it dry with a clean paper towel afterward.
Step 3: Apply Antibacterial Treatment
- After cleaning, I applied a very thin layer of silver sulfadiazine cream (SSD) — a veterinary-grade antibiotic cream used for burns and infections.
- If you can’t get SSD, Neosporin (without pain relief) can be used short-term.
Step 4: Let It Air Dry
- After treatment, I let my turtle sit dry for another 30–60 minutes before putting him back in water for the night.
- I repeated this for 7–10 days.
By day 3, the smell was gone.
By day 7, the soft spot had hardened.
By day 10, the discoloration was fading.
When to See a Vet
If you’re even slightly unsure about the severity, please call a reptile vet — especially if:
- The shell is bleeding or cracked
- There’s a strong, foul odor that doesn’t go away
- The infection is spreading to multiple scutes
- Your turtle is lethargic, not eating, or floating oddly
- You see pus, deep pits, or exposed bone
A vet can take a culture, prescribe stronger antibiotics, or even debride (remove) damaged tissue. Don’t wait too long — rot can spread fast beneath the surface.
How to Prevent Shell Rot in the Future
After dealing with shell rot once, I became way more proactive with my turtle’s care. The key isn’t just fixing it — it’s making sure it never comes back.
Here’s what I do now to prevent shell rot long-term:
1. Keep the Water Clean
- Use a canister or high-powered filter rated for 2–3x your tank’s volume.
- Do 25–30% water changes weekly, and vacuum the substrate if you use any.
- Test your water regularly for ammonia, nitrite, nitrate, and pH.
Even if the water looks clean, invisible bacteria could be thriving.
2. Maintain a Proper Basking Setup
- Ensure your turtle can fully climb out of the water.
- Use a basking bulb (heat) and UVB light, both positioned over the basking area.
- Replace UVB bulbs every 6–12 months — even if they still light up, they lose effectiveness over time.
- Keep basking temps at 85–90°F (29–32°C).
3. Watch for Injuries or Stuck Scutes
- Check your turtle weekly for small cuts, lifted scutes, or soft spots.
- If your turtle is shedding, don’t peel or pick — but make sure loose scutes aren’t trapping moisture underneath.
- If you keep multiple turtles, watch for aggressive behavior or biting.
4. Give Them Dry Time
Even in a tank setup, I try to dry-dock my turtle for 1–2 hours a week if I’m worried about shell health. It helps prevent moisture buildup under the shell.
What Does a Healing Shell Look Like?
After treatment, your turtle’s shell might not look perfect right away — and that’s normal.
Here’s what I saw during recovery:
- The soft areas hardened first
- Discoloration slowly faded (can take weeks)
- New scutes eventually grew in over damaged spots
- The shell became smooth and odor-free again
If the infection was mild, healing is usually visible within 7–10 days. Severe cases might take several weeks to months to fully recover, depending on how deep the damage went.
FAQ: Shell Rot in Red-Eared Sliders
1. Can a turtle die from shell rot?
Yes, if left untreated. Shell rot can spread to the bones and internal organs. But when caught early, most turtles make a full recovery.
2. Is shell rot painful for turtles?
If it’s advanced — yes. Early on, your turtle may not show signs of pain, but deep infections can cause discomfort, especially if the shell becomes exposed or infected.
3. Can I use saltwater or vinegar to clean shell rot?
No. Vinegar and salt can irritate the shell and delay healing. Stick to diluted Betadine, chlorhexidine, or a vet-approved solution.
4. Will shell rot spread to other turtles?
Bacterial and fungal infections can be contagious. If you have multiple turtles, isolate the infected one until it fully heals.
5. Can shell rot come back?
Yes, especially if water quality or basking issues continue. That’s why prevention and regular inspections are so important.
Final Words
Shell rot may look scary, but with the right care and quick action, it’s totally manageable. I’ve been through it, and I know how stressful it can be to second-guess what’s wrong — but trust me, catching those early signs and treating consistently makes all the difference.
If you’re dealing with shell rot right now, don’t panic.
Start with daily cleaning, dry-docking, and monitoring — and if it doesn’t improve within a few days, call your reptile vet.
Thanks for reading, and if you found this helpful, check out my other guides on turtle illness, skin issues, and tank setup tips — all from my own journey raising red-eared sliders.